Key Takeaways
-
Maintain mulch depth between 2-4 inches and pull it back 2-3 inches from tree trunks to prevent rot, insects, and plant disease caused by trapped moisture.
-
Properly prep garden beds by removing weeds, old debris, and creating clean edges before applying mulch to prevent weeds from pushing through and ensure a professional appearance.
-
Choose the right mulch type for your plants and climate; shredded bark and colored mulch work best for Florida yards, while avoiding chemically-treated dyes protects children and pets.
-
Refresh mulch annually in spring to restore depth, color, and weed-blocking effectiveness, as Florida's heat and humidity cause faster decomposition than cooler climates.
-
Leave gaps around plant crowns and stems while spreading mulch generously across the root zone to prevent stem rot and plant decline from trapped heat and moisture.
-
Hire a professional mulch installation service if you lack time or experience, as they handle bed prep, proper depth application, and debris removal for polished results.
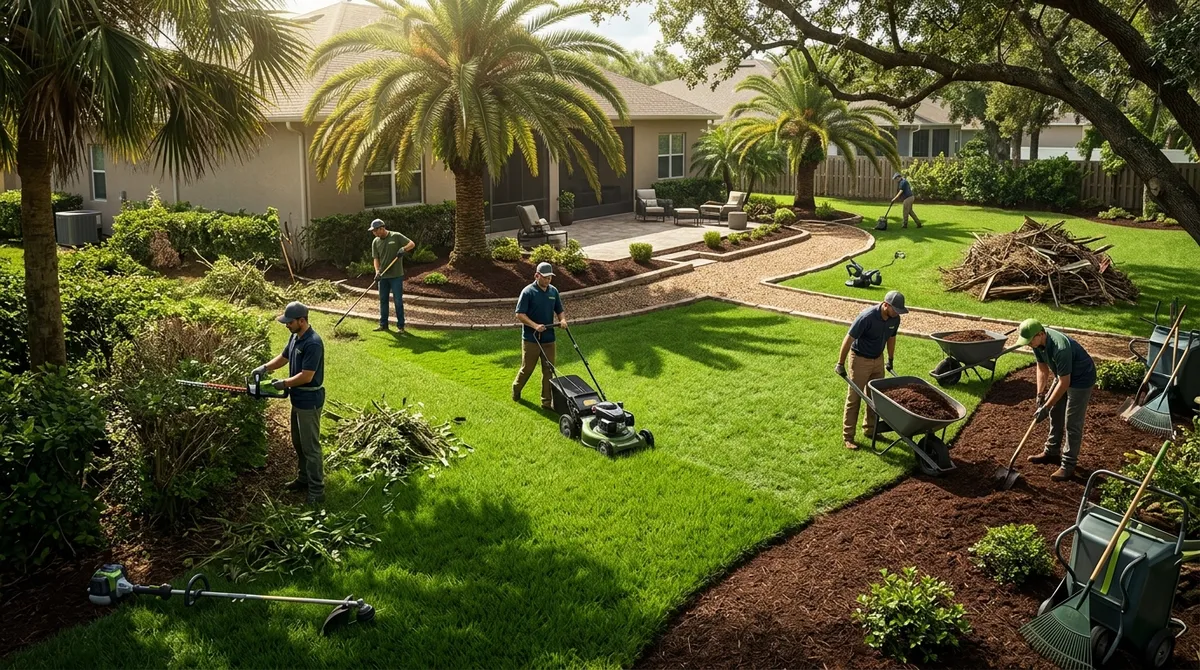
You’ve finally decided to freshen up your flower beds. You search for mulch installation near me and get ready to transform your yard. But here’s the thing — mulch seems simple, yet it’s surprisingly easy to get wrong. A bad mulch job doesn’t just look off. It can actually harm your plants, attract pests, and waste your money. Whether you’re a busy parent, a new homeowner, or someone who just wants a beautiful yard without the headache, knowing these common mistakes will save you time and stress. Let’s walk through the 5 biggest mulch installation mistakes people make — and how to avoid every single one.
What Is Mulch Installation and Why Does It Matter?
Mulch is a layer of material spread over the soil in your garden beds and around trees and shrubs. It keeps moisture in, helps regulate soil temperature, and blocks weeds from growing. When done right, mulch installation can completely transform the look of your yard. It adds color, texture, and a clean, polished finish that makes your home stand out. Mulch also protects the roots of your plants from the Florida heat, which is a big deal in areas like Bloomingdale where temperatures can be intense.
But poor installation? That can lead to root rot, mold, plant disease, and an overall messy appearance. That’s why it pays to understand what you’re doing before you start spreading bags of mulch around your yard.
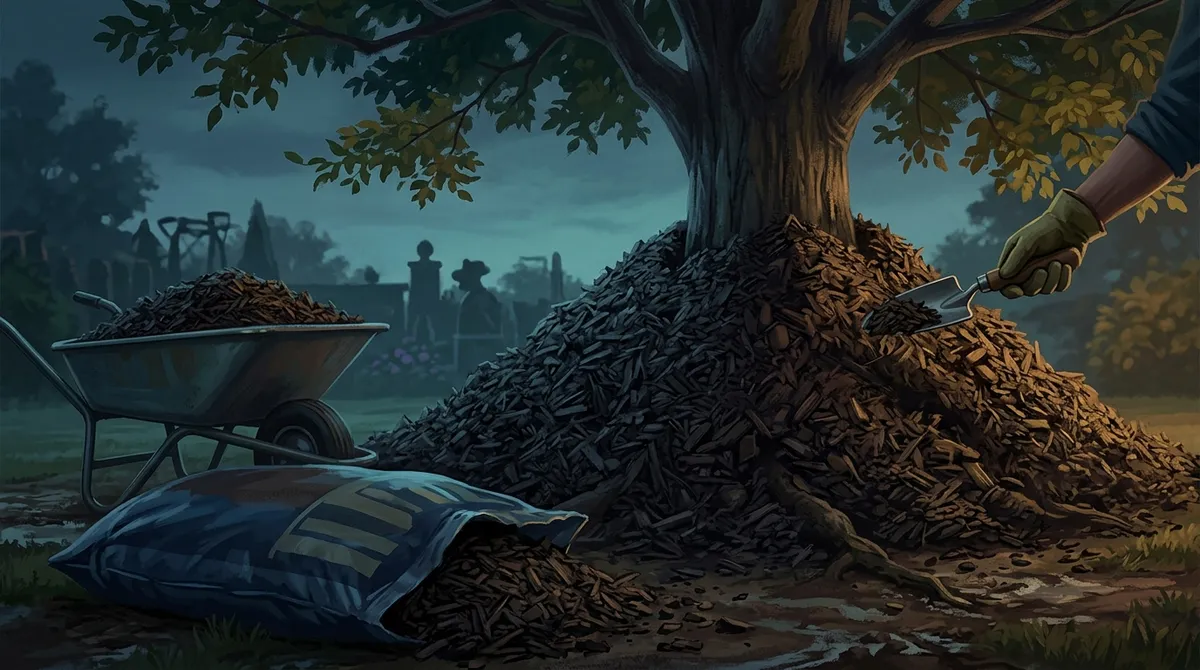
Mistake #1: Applying Too Much Mulch (Volcano Mulching)
This is the most common mulch mistake out there. People pile mulch high around the base of trees and shrubs, creating a volcano shape. It looks dramatic — but it’s actually terrible for your plants. When mulch piles up against tree trunks, it traps moisture and creates the perfect environment for rot and insects.
The ideal depth for mulch is between 2 and 4 inches. Anything more than that starts to cause problems. You want mulch to act like a blanket, not a wall. Keep it pulled back a few inches from plant stems and tree trunks so air can circulate freely.
- Keep mulch 2–4 inches deep
- Pull mulch 2–3 inches away from tree trunks
- Never pile mulch against plant stems
- Check existing mulch depth before adding more
If you’re searching for mulch installation near me in Bloomingdale, a professional crew will measure depth carefully and avoid this rookie mistake entirely. You can also learn more about professional mulching services to see how the pros handle it.
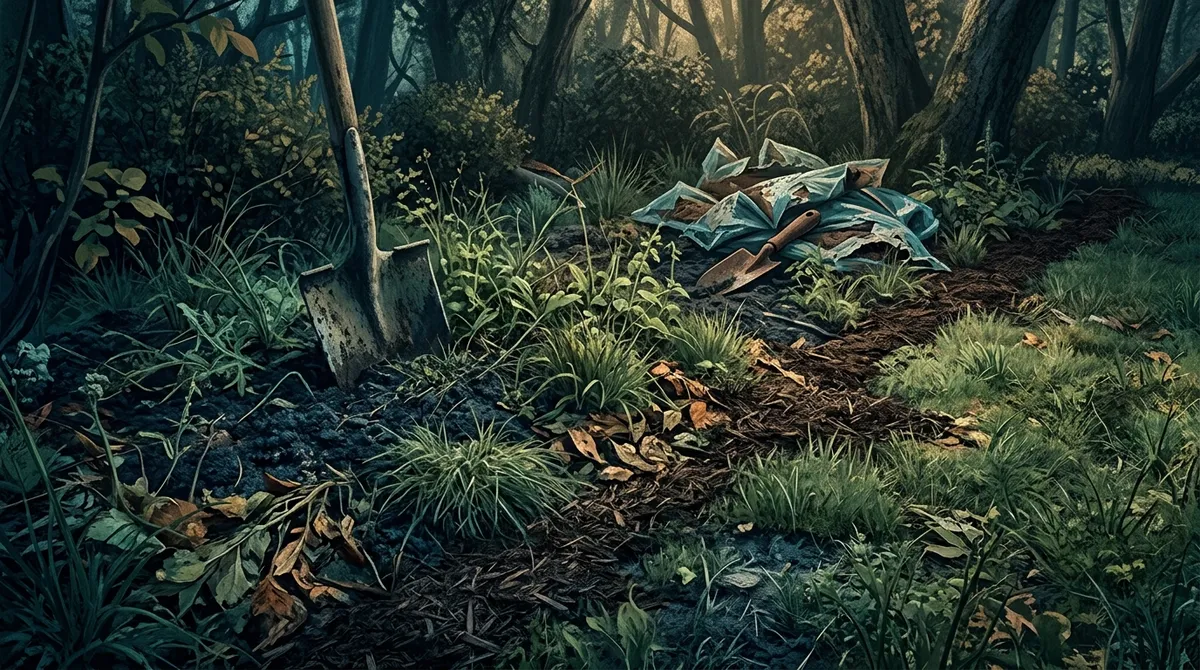
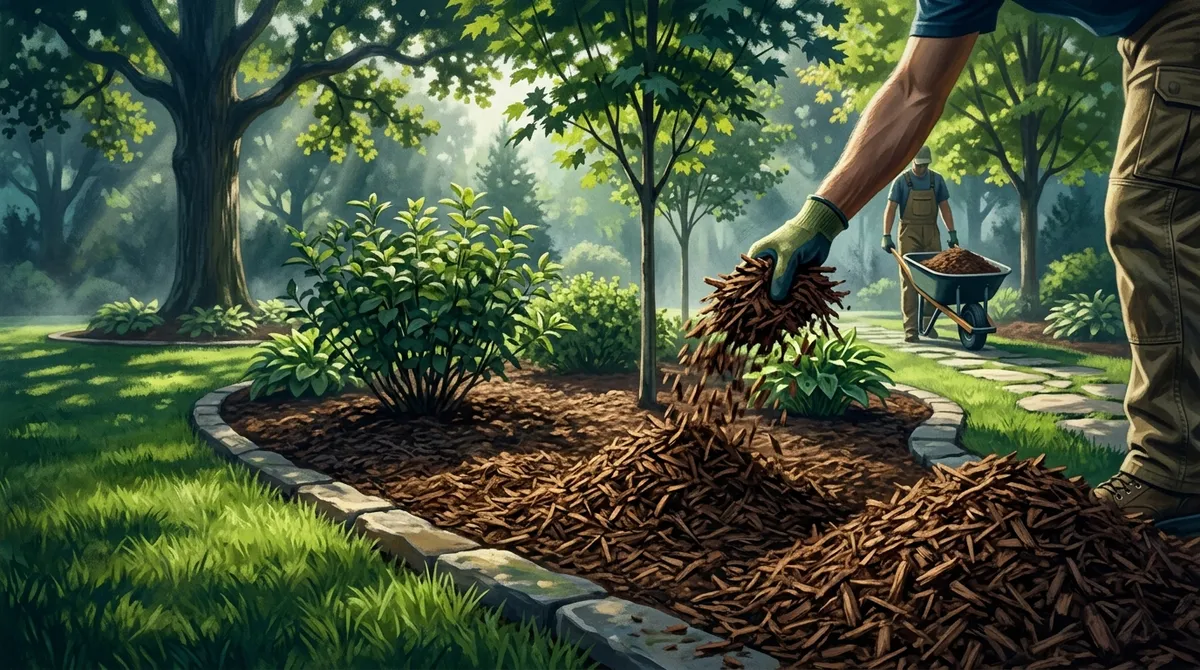
Mistake #2: Skipping the Edging and Bed Prep
Dumping mulch into an unprepared bed is like painting over dirt. It won’t look good and it won’t hold. Before you lay any mulch, your garden beds need to be properly edged and cleared of weeds and old debris. Skipping this step means weeds will push through your fresh mulch in no time.
How to Properly Prep a Bed Before Mulching
- Pull or spray all visible weeds from the bed area
- Remove old, broken-down mulch if it’s more than a season old
- Edge along the border of the bed to create a clean line
- Rake the soil smooth and level
- Consider a weed barrier fabric for added protection
Clean, edged beds make your mulch look sharp and professional. They also help the mulch stay in place after rain. This prep work is part of what separates a quick DIY job from a truly polished result. Teams offering professional mulch installation always include proper bed prep as part of the process.
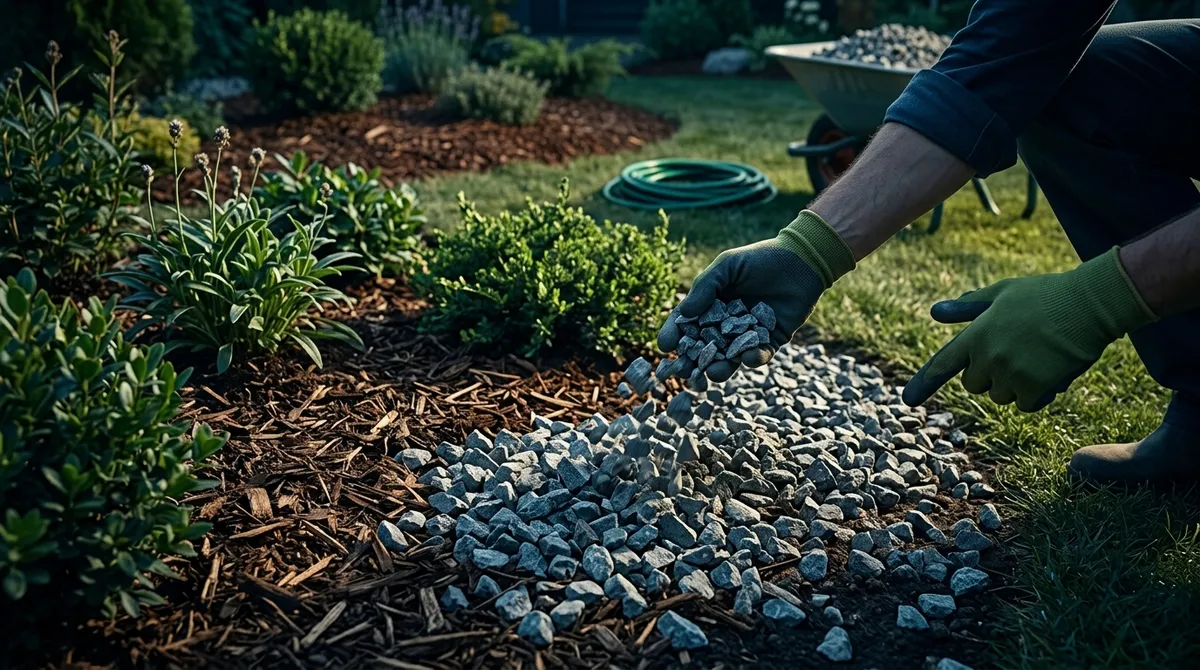
Mistake #3: Using the Wrong Type of Mulch
Not all mulch is created equal. There are wood chips, shredded bark, pine needles, rubber mulch, and more. Each type works better in certain situations. Using the wrong mulch for your yard’s needs can actually hurt your plants or create more work over time.
| Mulch Type | Best For | Lifespan |
|---|---|---|
| Shredded Bark | Flower beds, around trees | 1–2 years |
| Pine Needles | Acid-loving plants, slopes | 1–2 years |
| Wood Chips | Pathways, large landscape areas | 2–3 years |
| Rubber Mulch | Playgrounds, high-traffic areas | 10+ years |
| Colored Mulch | Decorative beds, curb appeal | 1–2 years |
In Bloomingdale, Florida, shredded bark and colored mulch are popular choices for residential yards. They look great, break down naturally, and enrich the soil over time. A local mulching service near you can help you pick the best option for your specific plants and soil type.
Also, avoid dyed mulches that use harmful chemicals, especially if you have children or pets playing in the yard. Eco-conscious families should always ask about the source and treatment of their mulch before installation.
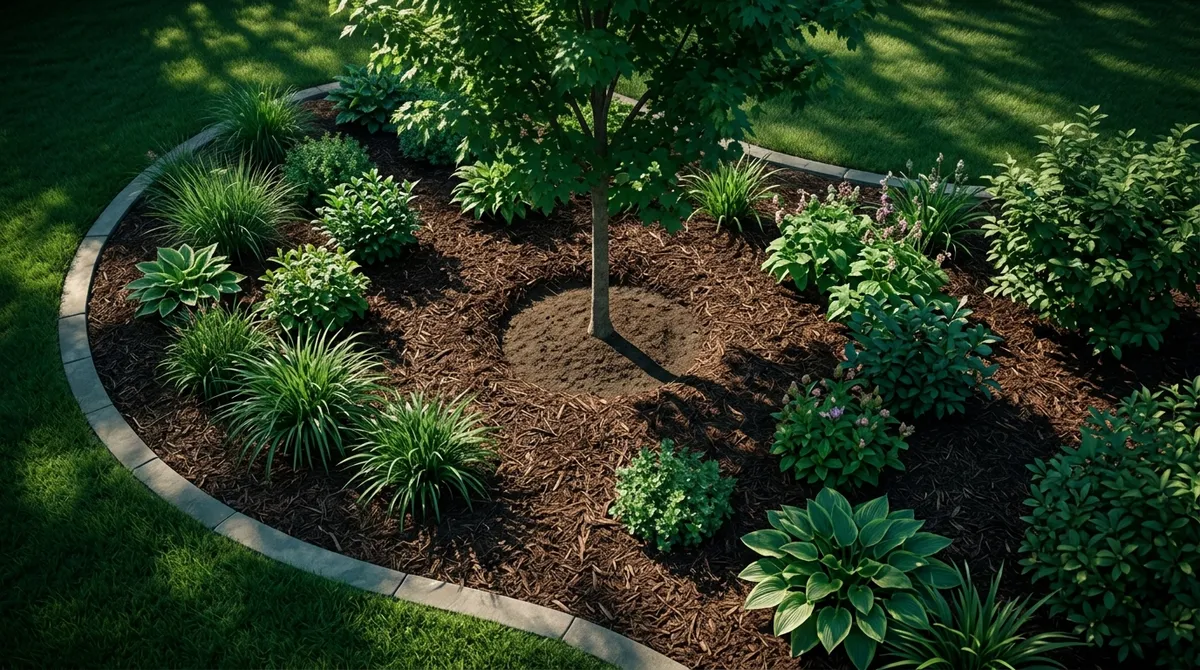
Mistake #4: Ignoring Mulch Placement Around Plants
Where you place mulch matters just as much as how much you use. A lot of homeowners spread mulch right up to plant stems without thinking twice. This traps heat and moisture right at the most vulnerable part of the plant. Over time, it causes stems to rot and plants to decline.
Every plant in your bed has a “root zone” — the area under the ground where roots absorb water and nutrients. Mulch should cover this zone generously, but stay clear of the crown and stem of the plant. Think of it like tucking in a blanket — snug around the body, but not over the face.
- Leave a small gap around plant crowns and stems
- Spread mulch evenly across the entire root zone
- Avoid clumping mulch into one thick pile near a single plant
- Use a rake to spread mulch in smooth, even layers
Proper placement protects your plants and gives your beds a clean, uniform look. It’s one of those details that makes a big visual difference once you step back and look at the whole yard. If you want your Bloomingdale home to look its best, this step is non-negotiable. Check out our gallery of completed projects to see what proper mulch placement looks like in real yards.
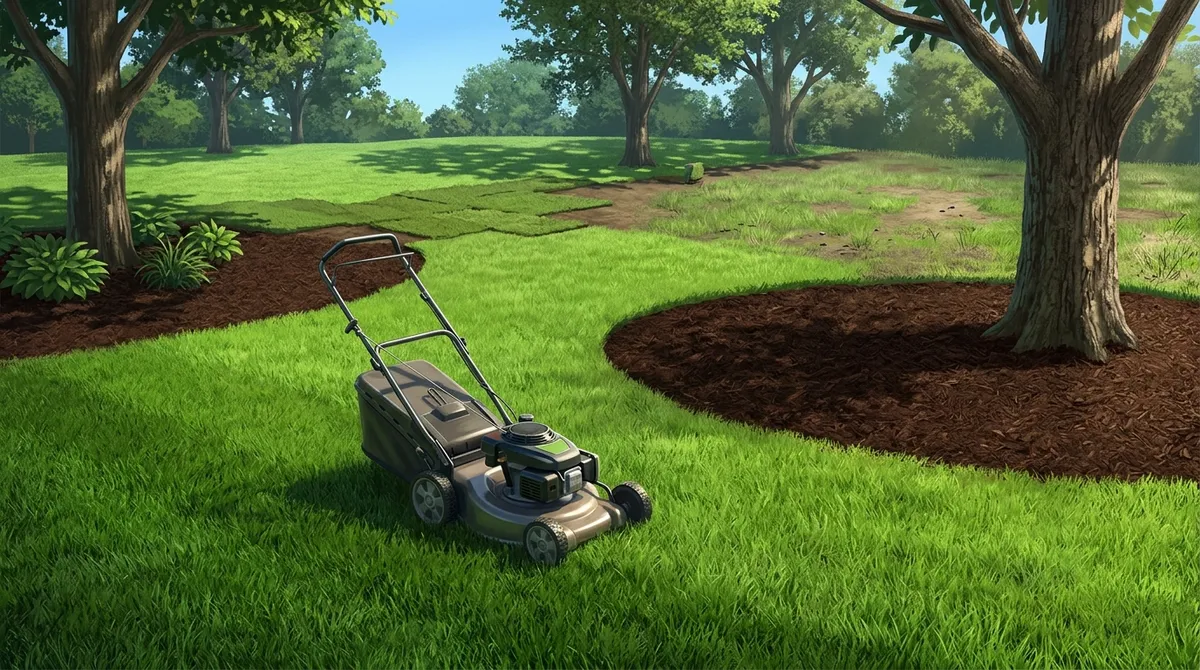
Mistake #5: Not Refreshing Mulch Often Enough
Mulch breaks down over time. As it decomposes, it loses its color, depth, and effectiveness. Many homeowners lay mulch once and forget about it for years. This leads to thin, faded, ineffective coverage that does little to protect your beds or improve curb appeal.
In a warm, humid climate like Bloomingdale, Florida, mulch can break down even faster than in cooler regions. You’ll generally want to refresh your mulch at least once a year, ideally in the spring before the heat kicks in.
Signs You Need a Mulch Refresh
- The color has faded significantly from its original tone
- The depth has dropped below 1–2 inches
- Weeds are pushing through the surface
- The mulch looks matted or compact instead of fluffy
A quick annual refresh keeps your beds looking fresh and working hard for your plants. It doesn’t take much — just a light topping off with new mulch to restore depth and color. Pair this with regular lawn maintenance and your yard will look incredible year-round.
When to Hire a Professional for Mulch Installation
Sometimes the DIY route just isn’t worth it. Between buying bags, hauling material, prepping beds, and spreading evenly — a full mulch job takes a lot of time and energy. For busy homeowners in Bloomingdale, seniors who find the physical work difficult, and new homeowners who aren’t sure where to start, hiring a professional makes total sense.
Professional mulch installation crews bring the right tools, know the right depths, and can tackle large or complex beds in a fraction of the time. They also handle the disposal of old mulch and debris, leaving your yard looking neat and polished. Finding reliable weeding and mulching services near you is easier than you might think.
At All Trusted Lawn Care, we offer professional mulch installation services right here in the Bloomingdale area. Our team knows the local climate, the local soil, and the types of mulch that work best for Florida yards. We take pride in delivering clean, even, beautiful results every time. You can also explore our full range of lawn and landscaping services to see everything we offer.
How to Choose the Right Mulch Installation Service Near You
Not every mulch crew delivers the same quality. When you search for mulch installation near me, it’s easy to feel overwhelmed by the options. Here’s a simple checklist to help you pick the right team for your yard.
- Ask if bed prep and edging are included in the service
- Make sure they offer a free estimate before starting work
- Confirm they use quality mulch that’s safe for kids and pets
- Look for a local company with good reviews and a track record
- Check that they understand Florida’s climate and plant needs
Reading reviews and checking a company’s online presence is always a smart move. You can visit our Google Business Profile to see what our Bloomingdale neighbors are saying about our work. We’re also active on Facebook, where you can see photos of recent projects and connect with our team.
Bonus Tips for a Better-Looking Mulched Yard
Want to take your mulch game to the next level? These bonus tips will help your yard look like it was professionally designed — because it will be.
Simple Steps to Maximize Your Mulch Results
- Use contrasting mulch colors to make your plants pop visually
- Add landscape design elements like borders and decorative rocks for extra polish
- Water your beds lightly after mulching to help the mulch settle
- Keep an eye out for mold or fungus, especially after heavy rain
- Pair fresh mulch with clean edging for a crisp, finished look
These small touches make a surprisingly big difference. A well-mulched yard not only looks better — it actually requires less watering and weeding over time. That means less work for you and more time to enjoy your beautiful outdoor space. According to lawn and landscape care principles, proper ground coverage is one of the most effective ways to maintain healthy outdoor spaces with less effort. You can also find inspiration by browsing our landscape installation services to see how mulch fits into a larger yard design.
Take the Next Step for Your Bloomingdale Yard
Mulch installation doesn’t have to be complicated or stressful. Avoiding these 5 common mistakes will set your yard up for success and keep your plants thriving through Florida’s intense heat and humidity. Whether you do it yourself or hire a pro, the key is doing it right. For more helpful tips, check out our guide to mulch installation and curb appeal — it’s packed with practical advice for homeowners just like you. You might also want to read about why lawn mulching creates healthier grass for even more insight. The University of Florida IFAS Extension also offers excellent research-backed guidance on landscape mulching practices for Florida homeowners.
Ready to give your yard the refresh it deserves? All Trusted Lawn Care is here to help with expert mulch installation, clean bed prep, and beautiful results you’ll be proud of. We serve Bloomingdale and surrounding communities with free estimates and a friendly team that genuinely cares about your yard. Reach out today to get your free estimate and let’s get your yard looking its absolute best — give us a call at 813-833-1882 and we’ll take it from there!
FAQs
Q: How much does mulch installation near me typically cost in Bloomingdale, FL?
A: Mulch installation costs vary depending on the size of your beds and the type of mulch used. The best way to get an accurate number is to request a free estimate from a local professional — that way there are no surprises and you know exactly what you’re getting for your investment!
Q: How deep should mulch be when installed in Florida?
A: In Florida’s warm, humid climate, a depth of 2 to 4 inches works best for most garden beds. Going deeper than 4 inches can trap too much moisture and lead to root rot or fungal issues, so keeping it in that sweet spot makes all the difference.
Q: How often should I refresh my mulch in Bloomingdale, FL?
A: Because of Florida’s heat and humidity, mulch breaks down faster than in cooler climates. Most Bloomingdale homeowners refresh their mulch once a year, typically in the spring, to restore color, depth, and weed-blocking effectiveness.
Q: Is mulch safe for yards with kids and pets?
A: Most natural mulches like shredded bark and wood chips are perfectly safe for families with children and pets. Just be sure to avoid mulches treated with harmful dyes or chemicals — and when in doubt, ask your local mulch installation professional about eco-friendly options!
Q: What is volcano mulching and why should I avoid it?
A: Volcano mulching is when mulch is piled high around the base of a tree or shrub in a cone or volcano shape. It looks dramatic but actually traps moisture against the trunk, which encourages rot and attracts pests. Always keep mulch pulled back a few inches from tree trunks and plant stems.