Key Takeaways
-
The first 30 days after sod installation are critical — proper daily watering schedules (2-3 times daily in week 1, tapering to 2-3 times weekly by week 4) and keeping foot traffic off the lawn during this period are essential to prevent browning and establish roots.
-
Professional site preparation including soil testing, pH balancing (ideal range 6.0-7.0), proper grading, and rolling to eliminate air pockets prevents most sod failures — skipping these steps is the primary reason new sod dies within weeks.
-
St. Augustine grass is best for Valrico's climate and partial shade, while Zoysia suits sunny yards with active families; choosing the right grass type for your specific yard conditions and sun exposure prevents ongoing problems.
-
Sod pieces must be laid in a staggered brick-pattern with tight seams (not overlapping or gapping) to allow roots to knit together and prevent drying out — this single installation technique dramatically improves success rates.
-
Wait at least 30 days before applying fertilizer to new sod, as stressed roots cannot absorb heavy fertilizer and applying too soon can burn roots and accelerate browning; mowing should begin around days 14-21 when roots have established.
-
Full-service professional sod installation in Valrico typically costs $2.00-$3.50 per square foot ($4,000-$7,000 for a 2,000 sq. ft. yard) and should include site prep, grading, rolling, and initial watering — cheaper quotes often omit critical preparation steps.
That pristine green carpet of freshly installed sod can transform into a patchy brown nightmare within two weeks if you miss these crucial care steps. It happens more often than you’d think — a homeowner invests in beautiful sod installation, watches the crew lay every piece perfectly, and then wakes up two weeks later to a yard that looks worse than before. The frustration is real, and the good news is that it’s almost always preventable.
Most homeowners focus entirely on installation day. They pick the right grass type, hire a great crew, and feel confident. But the real make-or-break period happens in the first 30 days after sod is laid. This is when new roots are fighting to establish themselves in unfamiliar soil. Miss a watering schedule, let your kids run across the lawn too soon, or apply fertilizer at the wrong time — and your investment can quickly go south.
This guide walks you through everything you need to know, from the science of why sod turns brown to the care habits that keep it thriving. Whether you’re a new homeowner in Valrico, a busy parent juggling a packed schedule, or a senior looking for low-maintenance lawn solutions, this article has you covered. Let’s dig in!
The Hidden Science Behind Sod Installation Success
Fresh sod looks tough, but it’s actually going through a significant amount of stress the moment it’s cut and rolled at the farm. Understanding this process helps you care for it properly.
Root Shock and Transplant Stress Factors
When sod is harvested, its roots are severed. The grass then experiences what’s called transplant stress — a period where it struggles to absorb water and nutrients. During this time, the blades can turn yellow or brown even when the sod looks healthy at first glance. Think of it like bringing home a new houseplant — it often wilts before it perks back up.
Soil Chemistry and pH Balance
The soil beneath your sod matters enormously. Florida soils in the Valrico area are often sandy and slightly acidic. If the pH is too far off from the sod’s ideal range (typically 6.0 to 7.0), roots struggle to pull in nutrients. This can cause browning even when water and fertilizer seem adequate. A simple soil test before installation can save you weeks of frustration. For soil testing guidance, the University of Florida IFAS Extension offers excellent local resources.
Moisture Retention vs. Drainage Requirements
Sod needs consistent moisture to establish roots — but it also needs proper drainage. Sandy Florida soils drain fast, which means sod can dry out quickly. Clay-heavy soils hold too much water and cause root rot. Striking the right balance is key, and professional site preparation plays a huge role in getting this right.
Temperature Timing for Different Grass Types
Not all sod thrives in every season. Warm-season grasses like St. Augustine and Zoysia establish best when soil temperatures are between 65°F and 85°F. Installing outside this window slows root growth and increases the chance of browning. In Valrico, spring and early fall tend to offer the best installation windows.
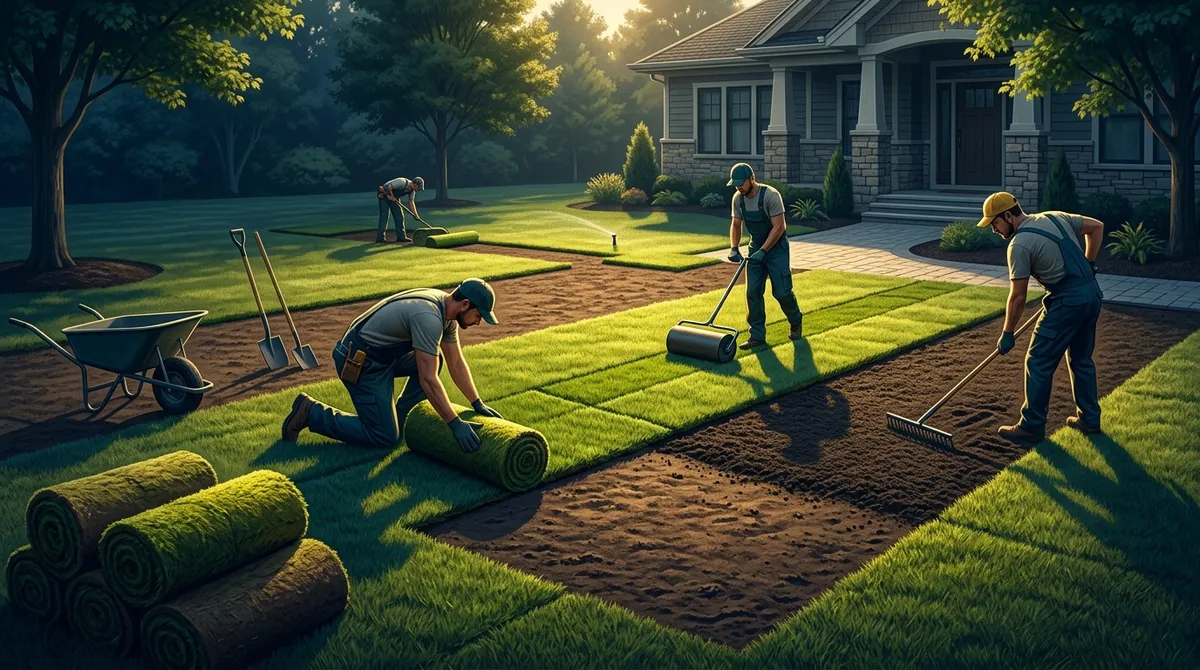
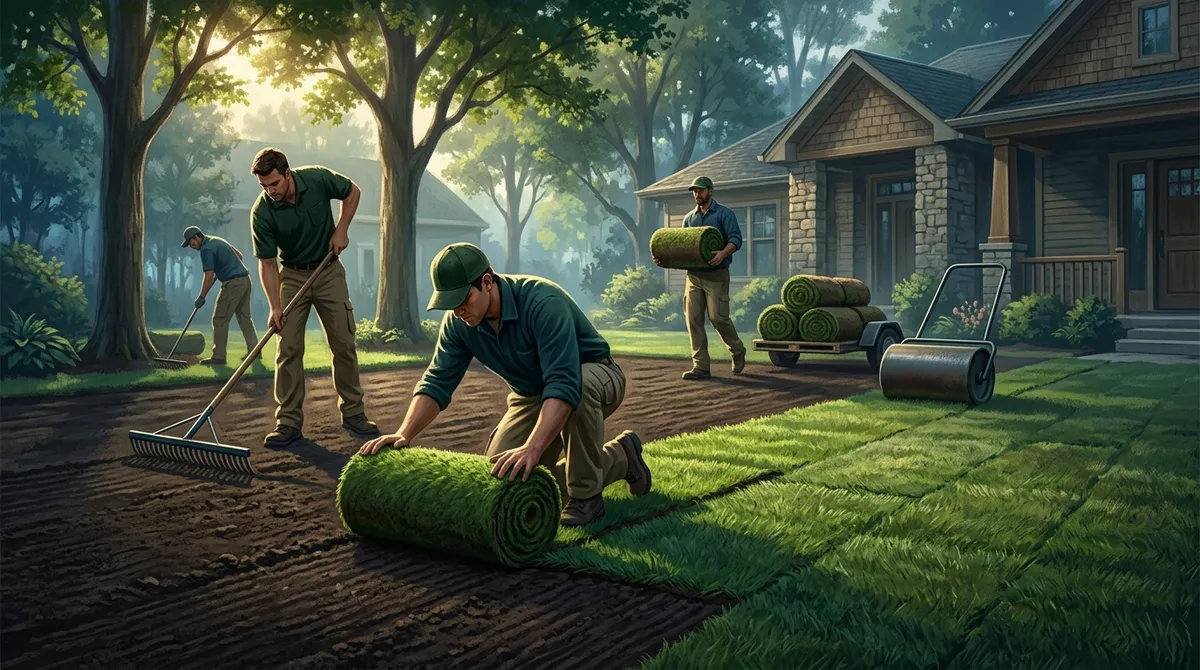
Professional Installation Steps That Prevent Future Problems
A great landscape installation starts long before the first roll of sod hits the ground. Here’s how professionals do it right.
Soil Testing and Amendment Procedures
Before anything is laid, a soil test identifies pH levels, nutrient deficiencies, and organic matter content. Based on the results, amendments like lime (to raise pH) or sulfur (to lower pH) are worked into the soil. This step is often skipped in DIY projects — and it’s one of the biggest reasons new sod fails.
Proper Grading and Leveling Techniques
Proper grading ensures water flows away from your home and doesn’t pool under the sod. Professionals use rakes and grading tools to create a smooth, even surface. Even small low spots can collect water, leading to dead patches.
Seam Placement and Staggering Patterns
Sod pieces should be staggered like bricks in a wall — this is called a staggered or brick-lay pattern. Lining up seams in a straight row creates weak points where the sod dries out faster and roots struggle to connect. Professional installers know this instinctively and lay each piece with care.
Initial Rolling and Soil Contact Methods
After laying, a sod roller is used to press the grass firmly against the soil. This removes air pockets and creates full soil contact — which is critical for root establishment. Without this step, the sod literally dries out from below because the roots can’t reach moisture in the soil.
First-Day Watering Protocols
The first watering should happen immediately after installation — ideally within 30 minutes of the last piece being laid. The goal is to wet the soil beneath the sod to a depth of 3 to 4 inches. Here’s a simple first-day protocol professionals follow:
- Water immediately after the last sod piece is laid.
- Soak until the sod feels spongy underfoot.
- Lift a corner of one piece to check that moisture has reached the soil below.
- Water again in the late afternoon if temperatures are above 85°F.
- Avoid runoff — slow, deep watering is better than fast, shallow watering.
You can see examples of professional installations in our project gallery to get a sense of what quality work looks like from start to finish.
Common Installation Mistakes That Kill New Sod
Even the best sod can fail if installation goes wrong. These are the most common mistakes homeowners and inexperienced crews make.
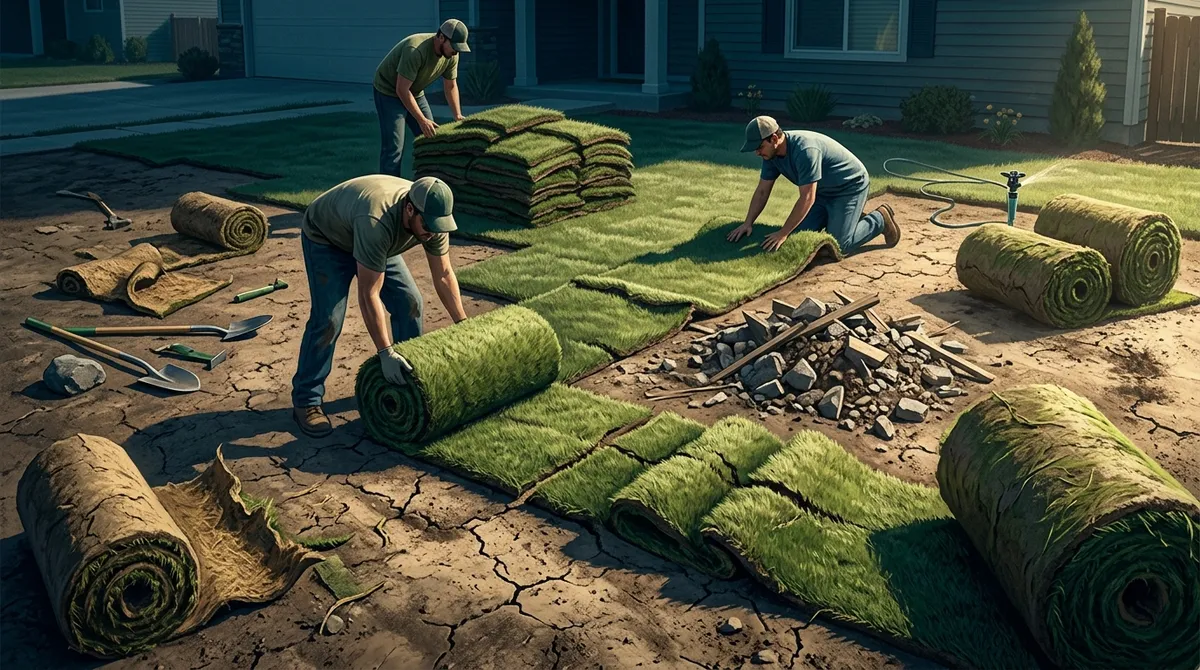
Installing Over Unprepared or Compacted Soil
Dropping sod over hard, compacted soil is like trying to grow a plant in concrete. Roots can’t penetrate, moisture doesn’t absorb evenly, and the grass dies within weeks. Soil must be tilled, amended, and loosened before installation — no shortcuts.
Leaving Air Pockets Beneath Sod Pieces
Air pockets are silent killers. They prevent root-to-soil contact and cause the sod above them to dry out and brown rapidly. Rolling after installation eliminates most pockets, but proper hand-laying technique during placement is equally important.
Improper Fertilizer Application Timing
Many homeowners apply fertilizer immediately after sod installation, thinking it will help. It often does the opposite. Fresh sod has stressed roots that can’t absorb heavy fertilizer. Applying too soon can burn the roots and accelerate browning. Wait at least 30 days before applying any fertilizer — and always consult a local specialist for fertilizer recommendations. While All Trusted Lawn Care doesn’t provide fertilization directly, we’re happy to connect you with trusted local partners.
Overlapping vs. Gapping Errors
Sod pieces should butt tightly together — not overlap and not leave gaps. Here’s what each error causes:
- Overlapping: Creates ridges, uneven surfaces, and suffocates grass at the edges.
- Gapping: Exposes soil, invites weeds, and dries out sod edges quickly.
- Tight seams: Allow roots to knit together across pieces for a seamless lawn.
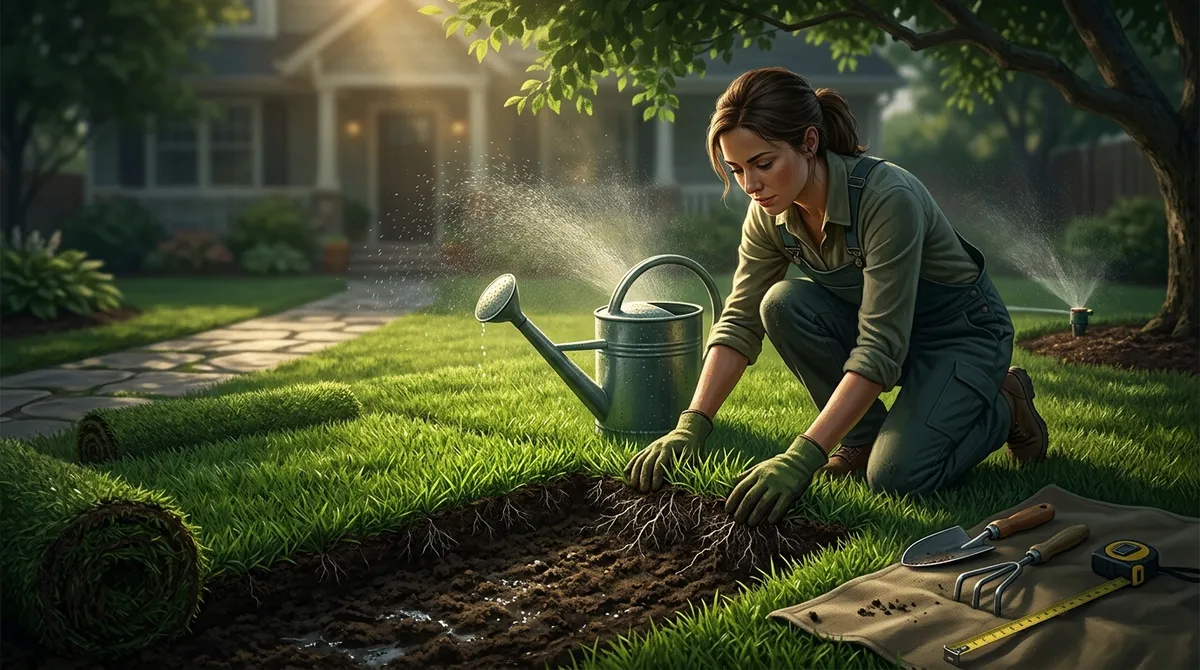
Your First 30 Days: The Critical Care Window
The first 30 days after sod installation services are completed are the most important of your lawn’s life. Here’s exactly what to do.
Daily Watering Schedules by Week
| Week | Watering Frequency | Duration Per Session | Goal |
|---|---|---|---|
| Week 1 | 2–3 times daily | 15–20 minutes | Keep sod constantly moist |
| Week 2 | 1–2 times daily | 20–25 minutes | Encourage deeper root growth |
| Week 3 | Every other day | 25–30 minutes | Transition to deeper watering |
| Week 4 | 2–3 times per week | 30 minutes | Establish normal watering rhythm |
Signs of Under and Overwatering
Knowing when something is wrong is just as important as following a schedule. Watch for these signals:
- Underwatering signs: Edges of sod curling up, blue-gray tint to grass, footprints staying visible for more than a few seconds.
- Overwatering signs: Squishy, spongy ground, mushroom growth, yellowing blades, and a sour smell from the soil.
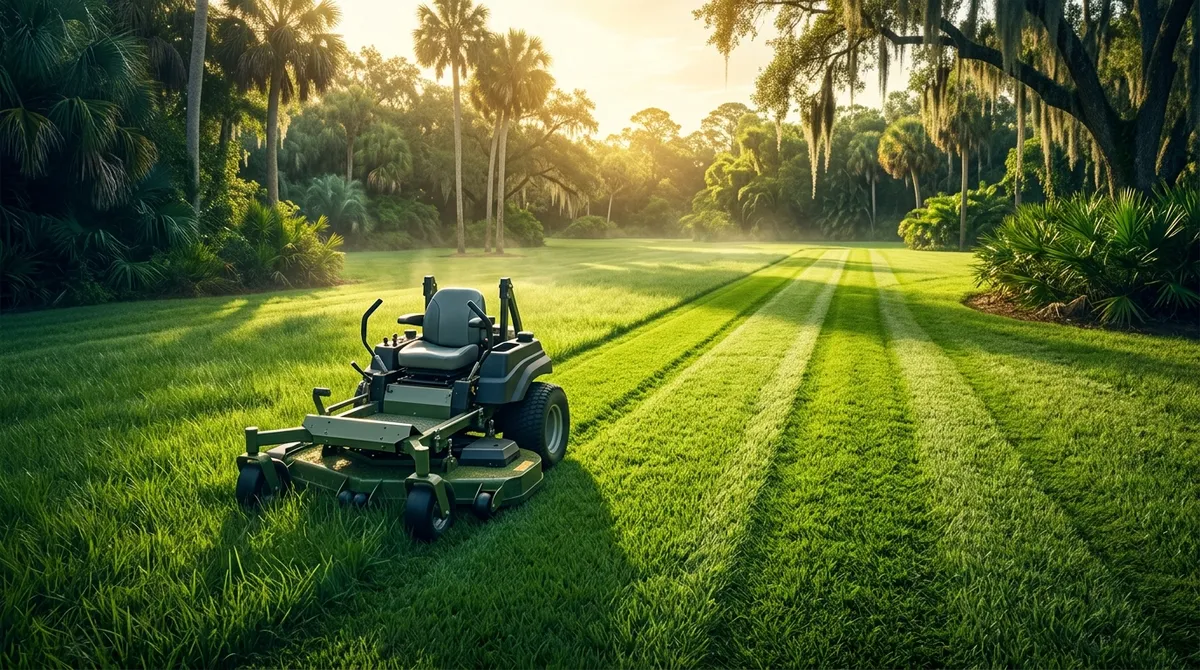
When to Start Mowing New Sod
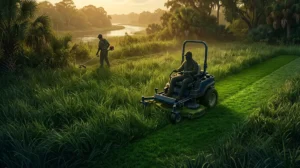
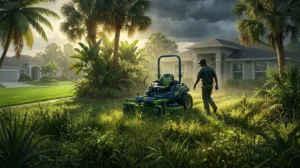
Hold off on mowing until your sod has rooted firmly. A simple test: tug gently on a corner of a sod piece. If it resists, roots are establishing. This usually happens around days 14–21. When you do mow, keep the blade high and never cut more than one-third of the grass blade height at once. For ongoing lawn maintenance after your sod establishes, our team is here to help.
Foot Traffic Restrictions and Pet Management
This one is tough for families, but it’s essential. Keep everyone — including pets — off new sod for at least two weeks. Heavy foot traffic compresses the soil and disrupts fragile root development. Set up temporary fencing or flags to remind kids and dogs to stay off. After week two, light foot traffic is fine, but avoid heavy activity for the full 30 days.
Choosing the Right Sod Type for Valrico’s Climate
Valrico sits in a warm, humid subtropical zone — which means grass choices matter a lot. Picking the wrong type leads to constant problems. Here’s how the two most popular options compare.
St. Augustine vs. Zoysia Characteristics
| Feature | St. Augustine | Zoysia |
|---|---|---|
| Shade Tolerance | Good (especially Floratam) | Moderate |
| Sun Requirements | 4–6 hours minimum | 6+ hours preferred |
| Drought Resistance | Moderate | Good |
| Maintenance Level | Moderate (regular mowing) | Low to Moderate |
| Foot Traffic Tolerance | Moderate | High |
| Establishment Speed | Fast | Slower |
Making the Right Choice for Your Yard
St. Augustine is the most popular choice in Valrico and surrounding areas like Brandon and Bloomingdale. It establishes quickly, handles partial shade well, and gives that lush, thick look most homeowners love. Zoysia is a great pick for sunny yards with active families and pets — it’s dense, durable, and slightly more drought-tolerant.
For eco-conscious families, Zoysia’s lower water needs can reduce irrigation use over time. For seniors or busy homeowners wanting a lower-maintenance yard, St. Augustine’s faster establishment means less time nursing the lawn during that critical 30-day window. Check out our Valrico lawn care page for local-specific advice.
Professional Service Costs and What They Include
One of the most common questions homeowners ask is, “How much does sod installation actually cost?” The answer depends on several factors — and knowing what’s included helps you make a smart decision.
Price Breakdown Per Square Foot
Sod installation costs in the Valrico area typically range from $1.50 to $3.50 per square foot, depending on grass type, site conditions, and the level of service included. Here’s a general breakdown:
- Sod material only: $0.40–$0.80 per square foot (purchased separately from a sod farm).
- Basic installation: Sod delivery, laying, and first watering. Around $1.00–$1.75 per sq. ft. in labor.
- Full-service installation: Includes site prep, grading, sod, installation, and rolling. $2.00–$3.50 per sq. ft. total.
For a typical 2,000 sq. ft. yard, expect full-service sod installation to fall in the $4,000–$7,000 range. Always get a free estimate — which you can do easily by visiting our contact page.
Site Preparation Service Variations
Not all quotes include the same site prep. Always ask what’s covered. Some companies charge extra for:
- Old lawn removal and disposal
- Soil tilling and aeration (we can refer you to trusted local specialists for this)
- Grading and leveling for water drainage
- Soil amendments based on pH testing results
A quote that seems low may leave out critical prep steps — and you’ll pay for it later with a failing lawn. Our full services page outlines exactly what we include so there are no surprises.
Warranty Coverage Differences
Reputable sod installation companies stand behind their work. Look for these warranty elements:
- Sod material warranty: Typically 30 days covering defective or diseased sod from the farm.
- Installation workmanship warranty: Covers issues caused by improper laying, rolling, or grading.
- Conditional warranties: Often require that the homeowner follows the watering schedule provided.
Follow-Up Care Package Options
Many homeowners benefit from signing up for ongoing lawn maintenance right after sod installation. Monthly lawn service — which includes weekly mowing — averages around $200 per month depending on yard size. This ensures your new sod gets its first proper mowing at the right height and time, without you having to think about it.
You can also explore our landscape design and mulch installation add-ons to complete the look of your freshly sodded yard. Follow us on our Facebook page to see recent projects and seasonal tips from our team.
Conclusion: Give Your New Sod the Best Start Possible
Fresh sod turning brown doesn’t have to be your story. With the right grass type, proper installation techniques, and a consistent 30-day care plan, your lawn can go from freshly laid to beautifully established without a single brown patch. The key takeaways are simple:
- Choose a grass type suited to Valrico’s climate and your yard’s sun exposure.
- Invest in professional site preparation — don’t cut corners before the sod even goes down.
- Follow the watering schedule religiously for the first 30 days.
- Keep foot traffic and pets off until roots have firmly established.
- Partner with a trusted local lawn care team for ongoing maintenance after establishment.
At All Trusted Lawn Care, we’re proud to serve homeowners across Valrico, East Brandon, Bloomingdale, and Fishhawk with quality sod installation services and dependable lawn maintenance. We offer free estimates and love helping families transform their yards into spaces they’re proud of. Check out our reviews on Google and see why so many neighbors trust us with their lawns.
Ready to get started? Reach out to our team today for your free estimate, or simply give us a call at 813-833-1882 — we’d love to help you get that lush green lawn you’ve been dreaming about!
FAQs
Q: How long should I wait before walking on newly installed sod?
A: Great question — and it’s one a lot of excited homeowners (and their dogs!) struggle with! You should wait at least two full weeks before allowing any foot traffic on new sod. This gives the roots enough time to begin anchoring into the soil, so all that hard work and investment doesn’t get undone by a shortcut through the yard.
Q: Can I install sod myself or should I hire professionals?
A: DIY sod installation is possible for small areas, but the results really depend on proper site prep — and that’s where most homeowners run into trouble. Skipping steps like soil testing, grading, or rolling can lead to patchy, browning sod within days. For larger yards or first-time installations, hiring professional sod installation services is almost always worth the investment for peace of mind and lasting results.
Q: What’s the best season for sod installation in Florida?
A: In Florida’s warm climate, sod can technically be installed year-round — but spring (March through May) and early fall (September through October) tend to give the best results. During these months, soil temperatures are in the sweet spot for root establishment, and the heat isn’t so intense that the sod dries out too quickly. Avoid installing during the coldest winter weeks if possible.
Q: How much does sod installation cost per square foot in Valrico?
A: Full-service sod installation in the Valrico area typically ranges from $1.50 to $3.50 per square foot, depending on the grass type, yard size, and level of site preparation included. It’s always a smart idea to request a free estimate so you know exactly what’s covered — no surprises, no hidden fees, just a clear picture of what your new lawn will cost.
Q: Will my existing sprinkler system need adjustments after sod installation?
A: Most likely, yes! New sod requires more frequent watering than an established lawn, so your sprinkler zones and timing will need to be adjusted — at least for the first 30 days. Once your sod is fully rooted, you can scale back to a normal irrigation schedule. A local irrigation specialist can help you fine-tune your system for the best results.